How to Use Minimal Pairs in Speech Therapy to Treat Phonological Disorders
One of my go-to phonological approaches to treating speech sound disorders is Minimal Pairs therapy. When I was first learning about Minimal Pairs therapy, I found it helpful to make myself a little “schedule” of what a session should look like. So I didn’t miss any steps!
I am going to talk about my schedule when using Minimal Pairs in speech therapy here in this blog post so you can steal it, too! And hopefully make your Minimal Pairs speech therapy sessions run smoothly!
But First…Two Types of Minimal Pairs Therapy?
Yes, there are actually TWO ways to go about doing minimal pairs speech therapy. There is the Meaningful Minimal Pair Intervention and the Perception-Production Minimal Pair Intervention. But, these two “different” approaches are not actually so different.
Meaningful Minimal Pairs Intervention consists of 3 steps: (1) familiarization, (2) listen and pick-up, and (3) production of minimal pair words. This approach seems to work best for children who can already perceive the difference in the minimal pairs and who are easily stimulable for the target sound. Meaningful minimal pair intervention consists of 3 steps: (1) familiarization, (2) listen and pick-up, and (3) production of minimal pair words.
Perception-Production Minimal Pairs Intervention consists of 5 steps: (1) familiarization (2) perception training (3) production (word imitation), (4) production (independent naming), and (5) production (minimal pairs). This approach is perfect for children who need a little more help right out of the gate with the minimal pairs. They may need time to imitate and then independently name only the target words before jumping right into spontaneous production of minimal pairs.
I feel like most children need these more basic steps of imitation and independent naming of just the targets before increasing the complexity of the task to producing the minimal pairs. So, I basically always follow the perception-production outline for minimal pairs therapy. Not that I want to waste time on something that is not necessary, but I feel like even a quick review is usually needed…especially with my little guys!
Let’s Dive Deeper into the Steps of Minimal Pairs Therapy
These are the steps I follow when using minimal pairs therapy in my speech therapy sessions:
Familiarization - This step is exactly what it sounds like. You help the child become familiar with the target pairs - yes, both words in the target pairs. So if you are working on K/T minimal pairs, you might show the child pictures of both a key and tea. You simply talk about the pictures with the child so they know what each one is meant to represent. “This is a key. You use it to open a door. This is tea. We drink it.”
Listen and Pick-Up AND/OR Perception Training - So once you know the child understands what the pictures represent, you want to make sure the child can hear the difference in the words and identity them correctly. The SLP can lay out minimal pairs cards on a table (3-5 pairs total) and ask the child to pick up one picture at a time. “Pick up the picture of the ring.” If the child gets it right, praise! “Yes, that’s the ring. Great listening.” If the child gets it wrong, provide feedback. “You picked up the wing. The word I said sounds like wing, but it’s a little different. Let’s try again. Pick up the picture of the ring.” Do this for all of the cards on the table - both the actual targets and their minimal pair. You can also include a sorting activity during this step. Have the child put all the K words in one pile and all the T words in another pile. Keep at this step until the child correctly identifies the pictures with 90% accuracy.
Production of Words - Let’s break this up into a few different tasks:
You can have the child IMITATE only the target word.
Then, you can have the child INDEPENDENTLY NAME only the target word.
Lastly, you can have the child produce BOTH minimal pair words in the same activity.
Imitation: Here you have the child imitate ONLY the target words. So if you are going to be working with R/W minimal pairs, the child will only imitate the R words during this step. Stick with this step until the child is 90% accurate with the target words. You may have to provide placement cues to help the child achieve the correct sound. That’s ok!
Independent naming: Here the child will independently label the target words only. No model is provided by the SLP. You can move on from this step once the child is 50% accurate at the word level.
Production of Minimal Pairs: This is where the real magic happens. This is when the child starts to contrast the target word with the word they typically say in error. Some articles and texts mention having the child be the teacher and telling the SLP which card to pick up. This is great because the child must produce the word correctly in order to get the SLP to pick up the intended card.
If the child says the wrong word, I always act confused. This helps the child understand that saying the word incorrectly leads to semantic confusion on the listener’s part. And they have to change their production in order to get their meaning across!
So let’s say the child wanted you to pick up the key, but they said “tea” instead. I would then pick up the tea card and say something like “Did you mean tea? Like the thing we drink? Or did you mean key - you know, the thing that opens a door?” And I usually point to each card as I say the word.
I give them a chance to self-correct, but if they get it wrong the second time, I provide a little more cuing to help them make the target sound/word.
I’ve also done something a little different during this step. Instead of the child being the teacher, I point to words and have the child label them correctly. At first, I start in a very predictable, blocked pattern. For example, I will point to key and then to tea. I will go back and forth between these two pairs for a bunch of trials. Then I will point to cap and tap. And stick to these words for a bunch of trials. Then I will point to cub and tub. You get the idea. And I will continue in that predictable pattern for a while.
However, when the child “gets good” at the words, I will start to randomize what I point to. I could do this two ways.
I might stick to a pair, but point to each word in a random pattern: key, then tea, then key, key, key, tea, key.
I might randomize ALL the pairs and point randomly: key, cub, tap, tea, tub, cap, cap, key, tub, tea, etc.
I decide how to randomize our productions based on the child’s performance.
You Know How to Do Minimal Pairs Therapy!
And that’s it! I try not to make things seem more complicated than they actually are. So, I hope this tutorial on how to do minimal pairs therapy for a child with a phonological disorder is helpful. Please reach out if you have any questions! I always love chatting SSDs!
Do You Need Some Minimal Pairs Cards?
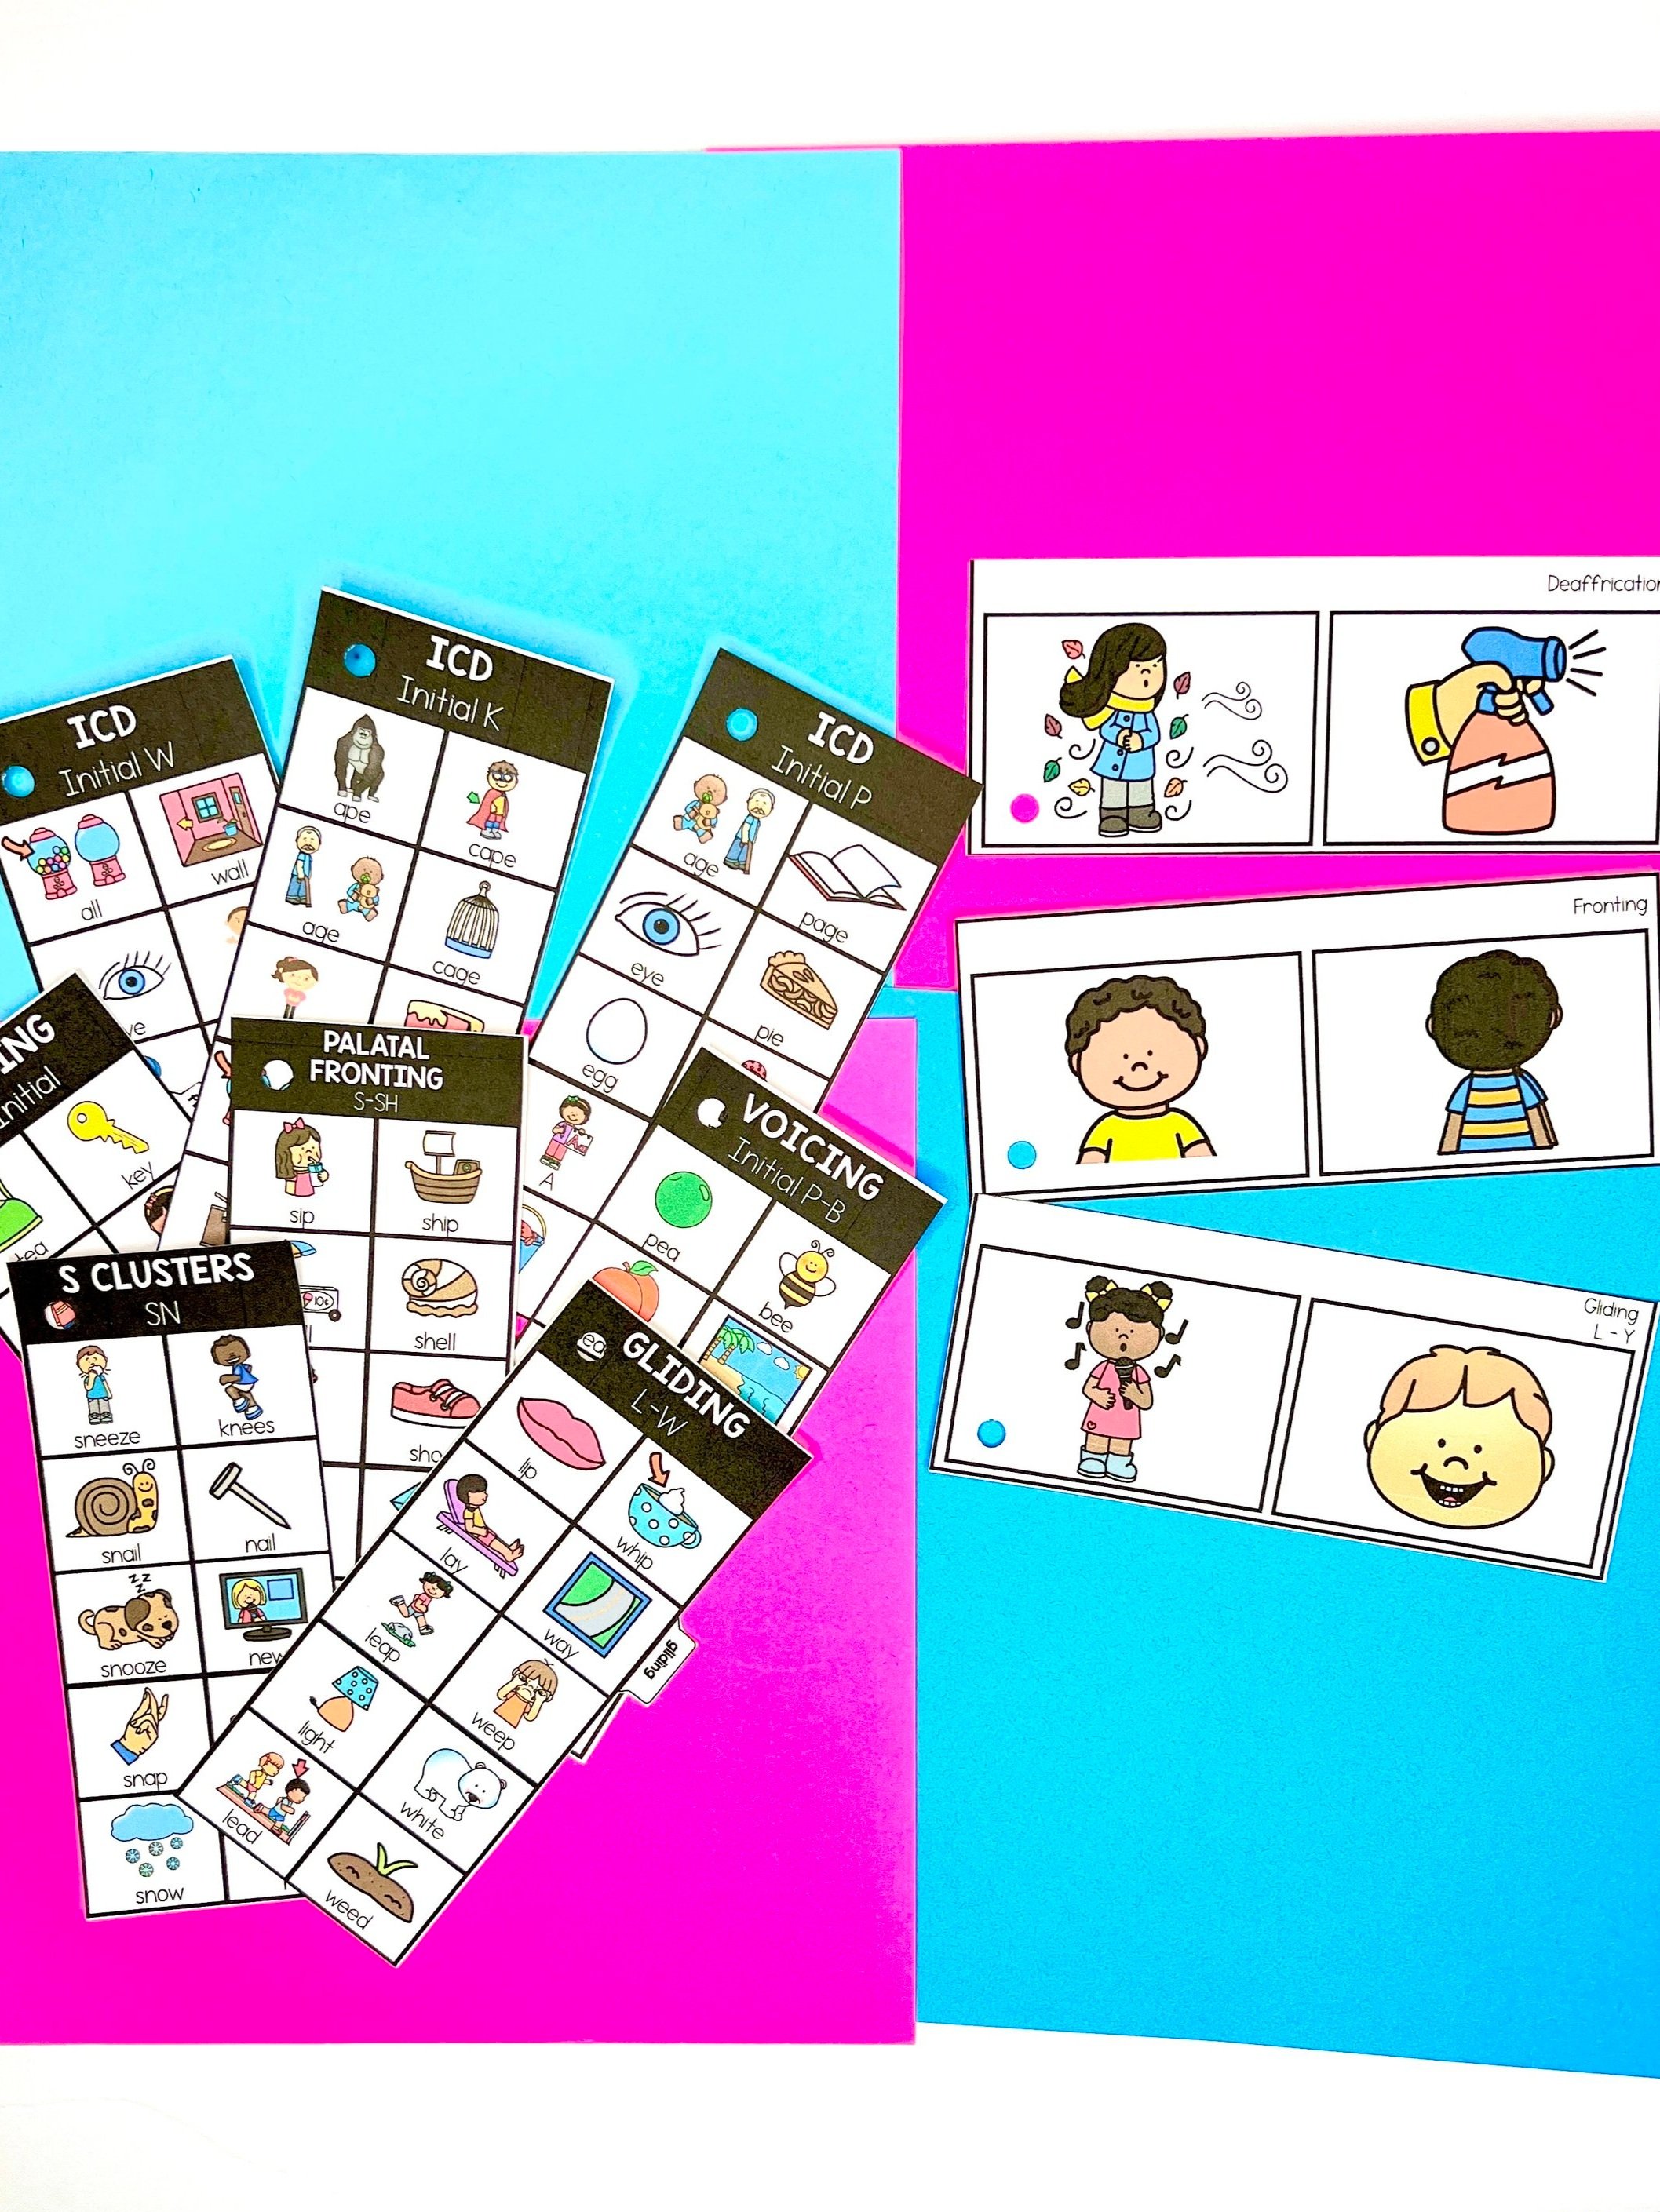
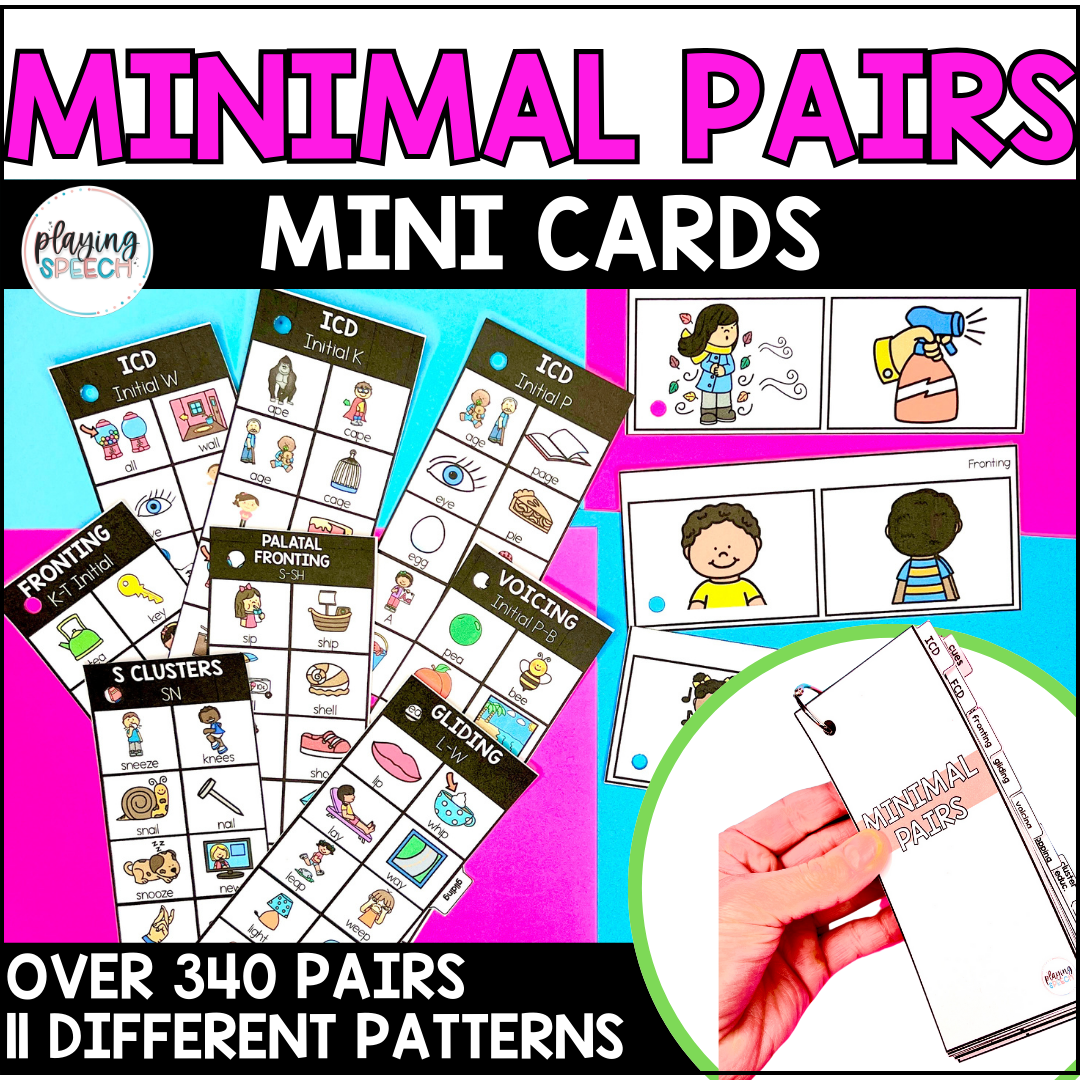
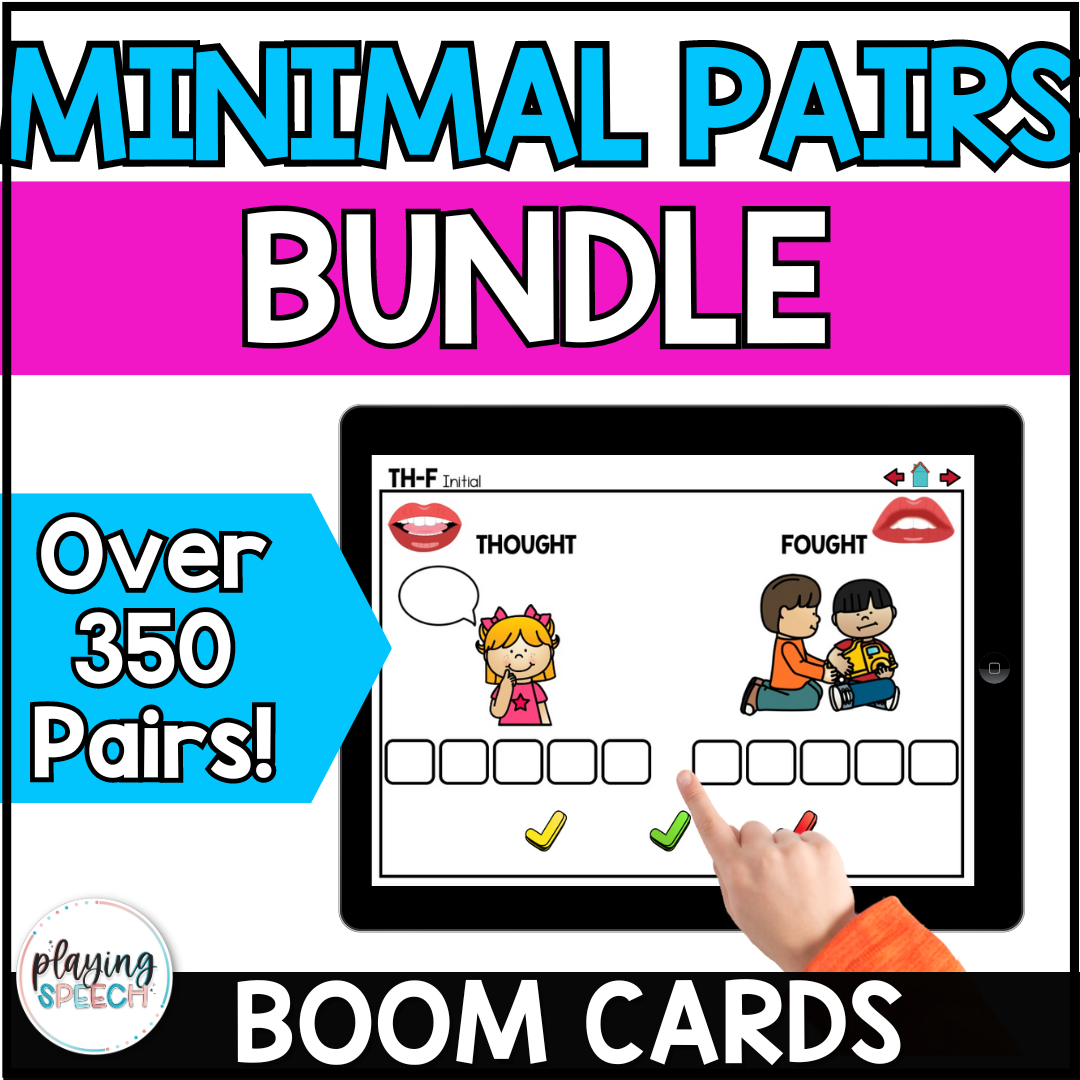
I have made a lot of minimal pairs resources. I have a comprehensive full-sized card set that comes with both printable and digital cards. I also created mini minimal pairs cards that are now a therapy bag staple for me as a traveling SLP. I’ll link them all here.
Click on any photo below and it will take you right to that resource!
Sign up below to join my email list and get access to exclusive freebies!
Source: Elise Baker. “Minimal Pair Intervention.” Interventions for Speech Sound Disorders in Children, by A. Lynn Williams et al., Paul H. Brookes Publishing Co., 2021, pp. 41–72.


